Printable Iron on Instructions: How to Apply Decal Heat
Step 1: Prepare Your Materials
 Before you start applying your decal heat, make sure you have all the necessary materials ready. You will need:
- A printable iron-on vinyl sheet
- An inkjet printer
- A standard household iron
- A clean and flat surface
- The fabric or item you want to apply the decal to
- A piece of parchment paper or thin cloth
Step 2: Design and Print Your Decal
Using the printable iron-on vinyl, design or choose the decal you want to apply to your fabric. You can find a variety of designs online or create your own using design software. Once you have your design ready, print it onto the printable iron-on vinyl sheet using an inkjet printer. Make sure to follow the specific instructions provided by the manufacturer of the printable iron-on vinyl for optimal printing results.
 Ensure that the design is the correct size and orientation before printing. It’s always a good idea to do a test print on regular paper to check for any errors or issues with the design.
Step 3: Cut and Weed Your Decal
Once your decal is printed, carefully cut around the design using scissors or a cutting machine like a Cricut. Make sure to leave a small border around the design to ensure easier application. Next, weed out any excess vinyl by removing the unwanted parts of the design using a weeding tool or by hand. This step is crucial to ensure clean lines and a professional-looking result.
 It’s important to take your time and be patient during the weeding process to avoid damaging the design. Use a small, precise tool to remove tiny pieces of vinyl if needed.
Step 4: Preheat Your Iron and Surface
Before applying the decal, preheat your iron to the recommended temperature specified by the manufacturer of the printable iron-on vinyl. It’s crucial to use the correct heat setting to ensure proper adhesion and durability of the design. Additionally, ensure that the surface where you’ll be applying the decal is clean and flat. Any wrinkles or debris on the surface may affect the quality of the application.
 If necessary, gently iron the fabric surface to remove any wrinkles or creases that may interfere with the application. However, avoid using steam as it can affect the adhesive properties of the printable iron-on vinyl.
Step 5: Position and Apply the Decal
Place your fabric on the preheated surface, ensuring it is smooth and wrinkle-free. Next, carefully position your cut and weeded decal onto the fabric, making sure it is centered and aligned as desired.
 Once the decal is in position, cover it with a piece of parchment paper or a thin cloth to protect both the decal and the iron from direct contact. Apply firm and even pressure to the decal using your preheated iron. Start from the center and work your way outward, applying pressure for about 10 to 15 seconds in each section. Additionally, make sure to follow any additional instructions provided by the manufacturer of the printable iron-on vinyl for optimal application.
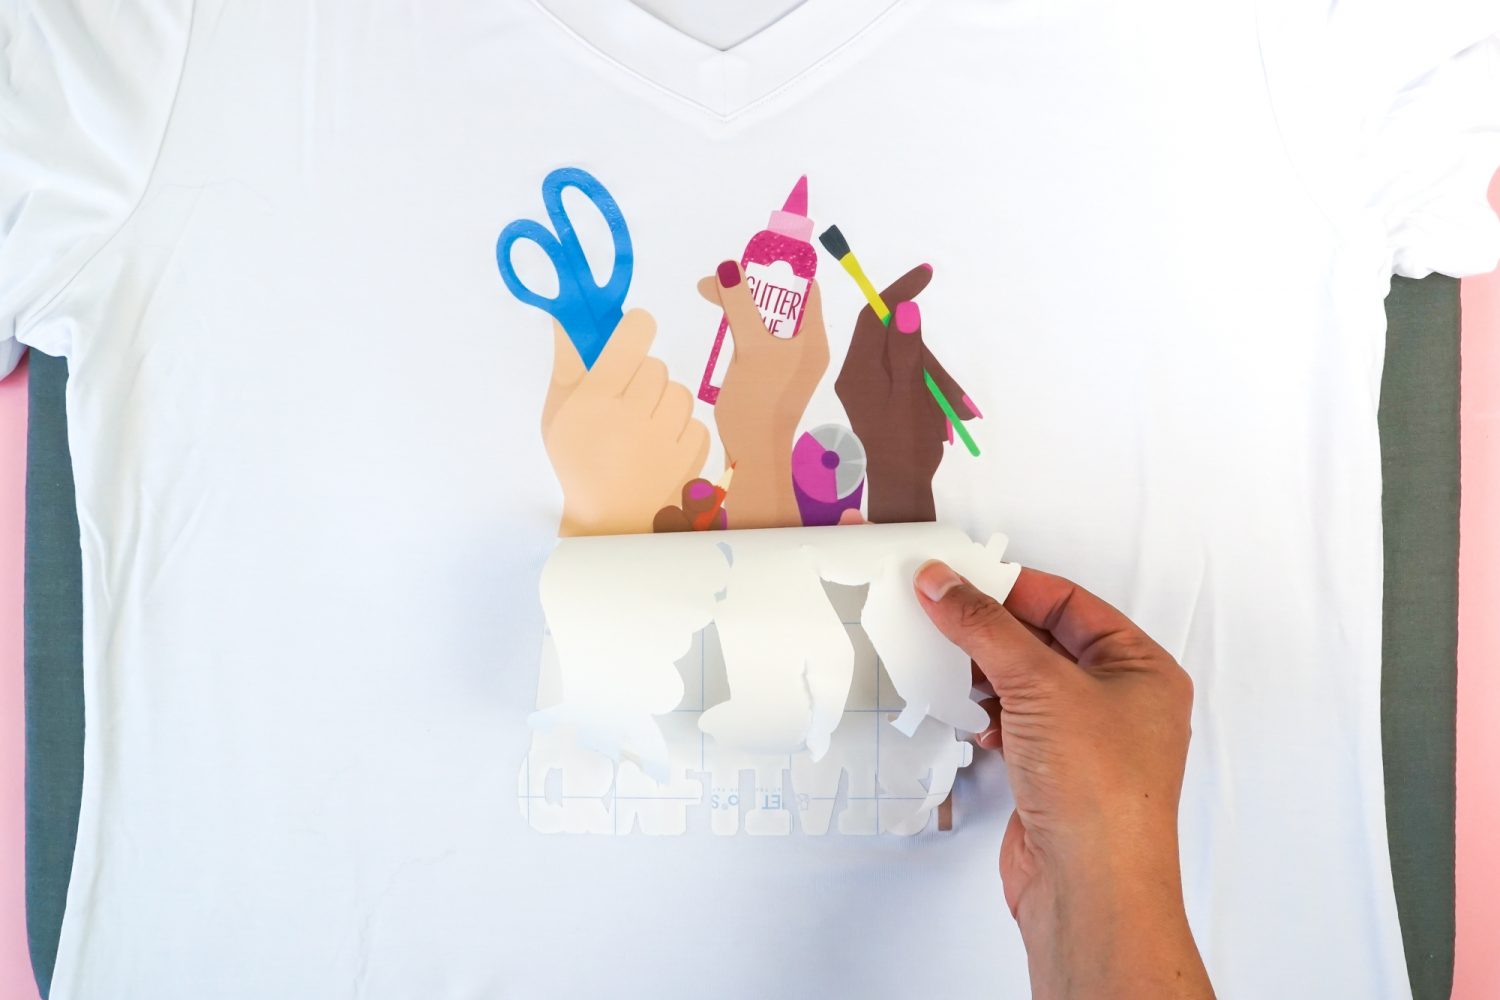
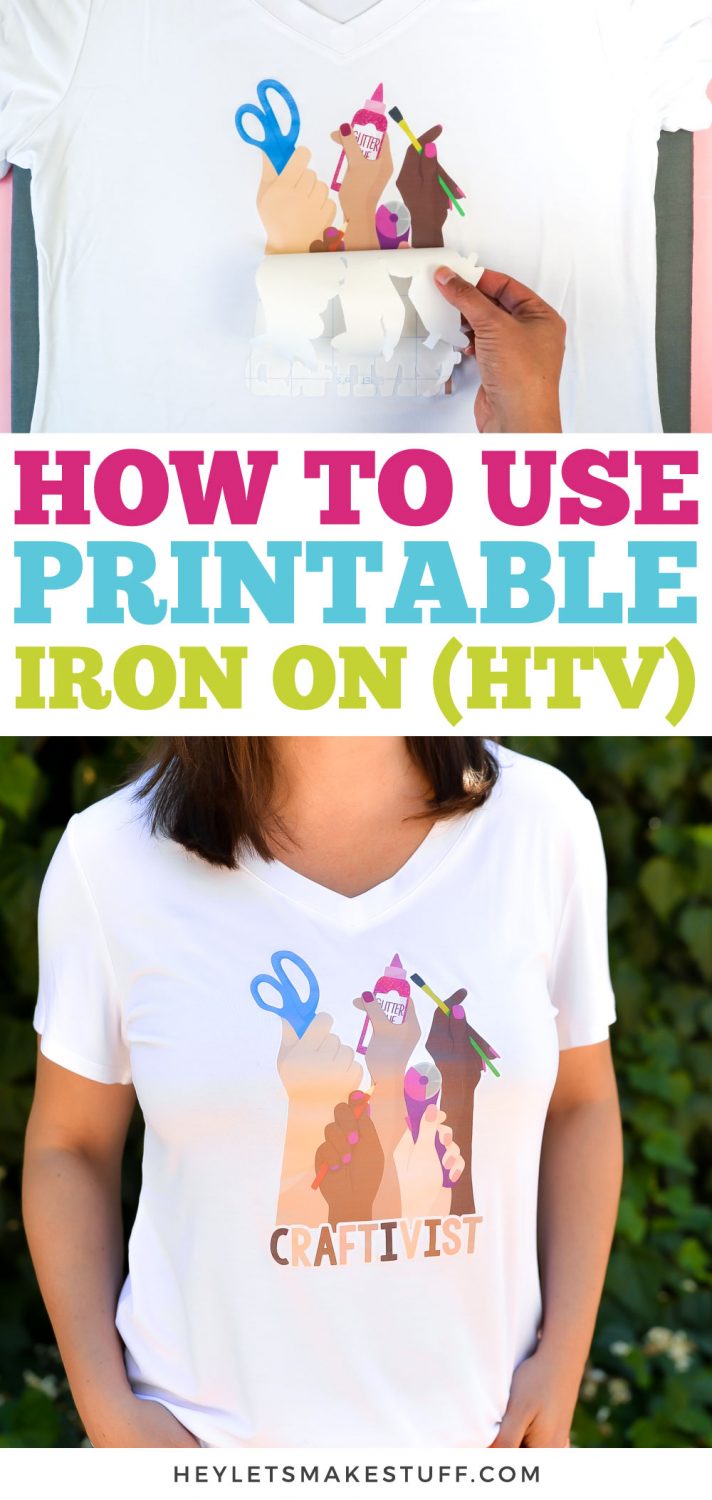
Step 6: Remove the Backing
After applying heat to the entire decal, allow it to cool slightly before carefully removing the parchment paper or cloth. Starting from one corner, peel the backing of the printable iron-on vinyl away from the fabric at a 45-degree angle. Take your time and ensure that the vinyl adheres well to the fabric as you peel off the backing.
 If you notice any parts of the decal lifting or not adhering properly, place the backing back down and reapply heat using the iron for an additional 5 to 10 seconds. Then, repeat the peeling process.
Step 7: Finishing Touches and Care
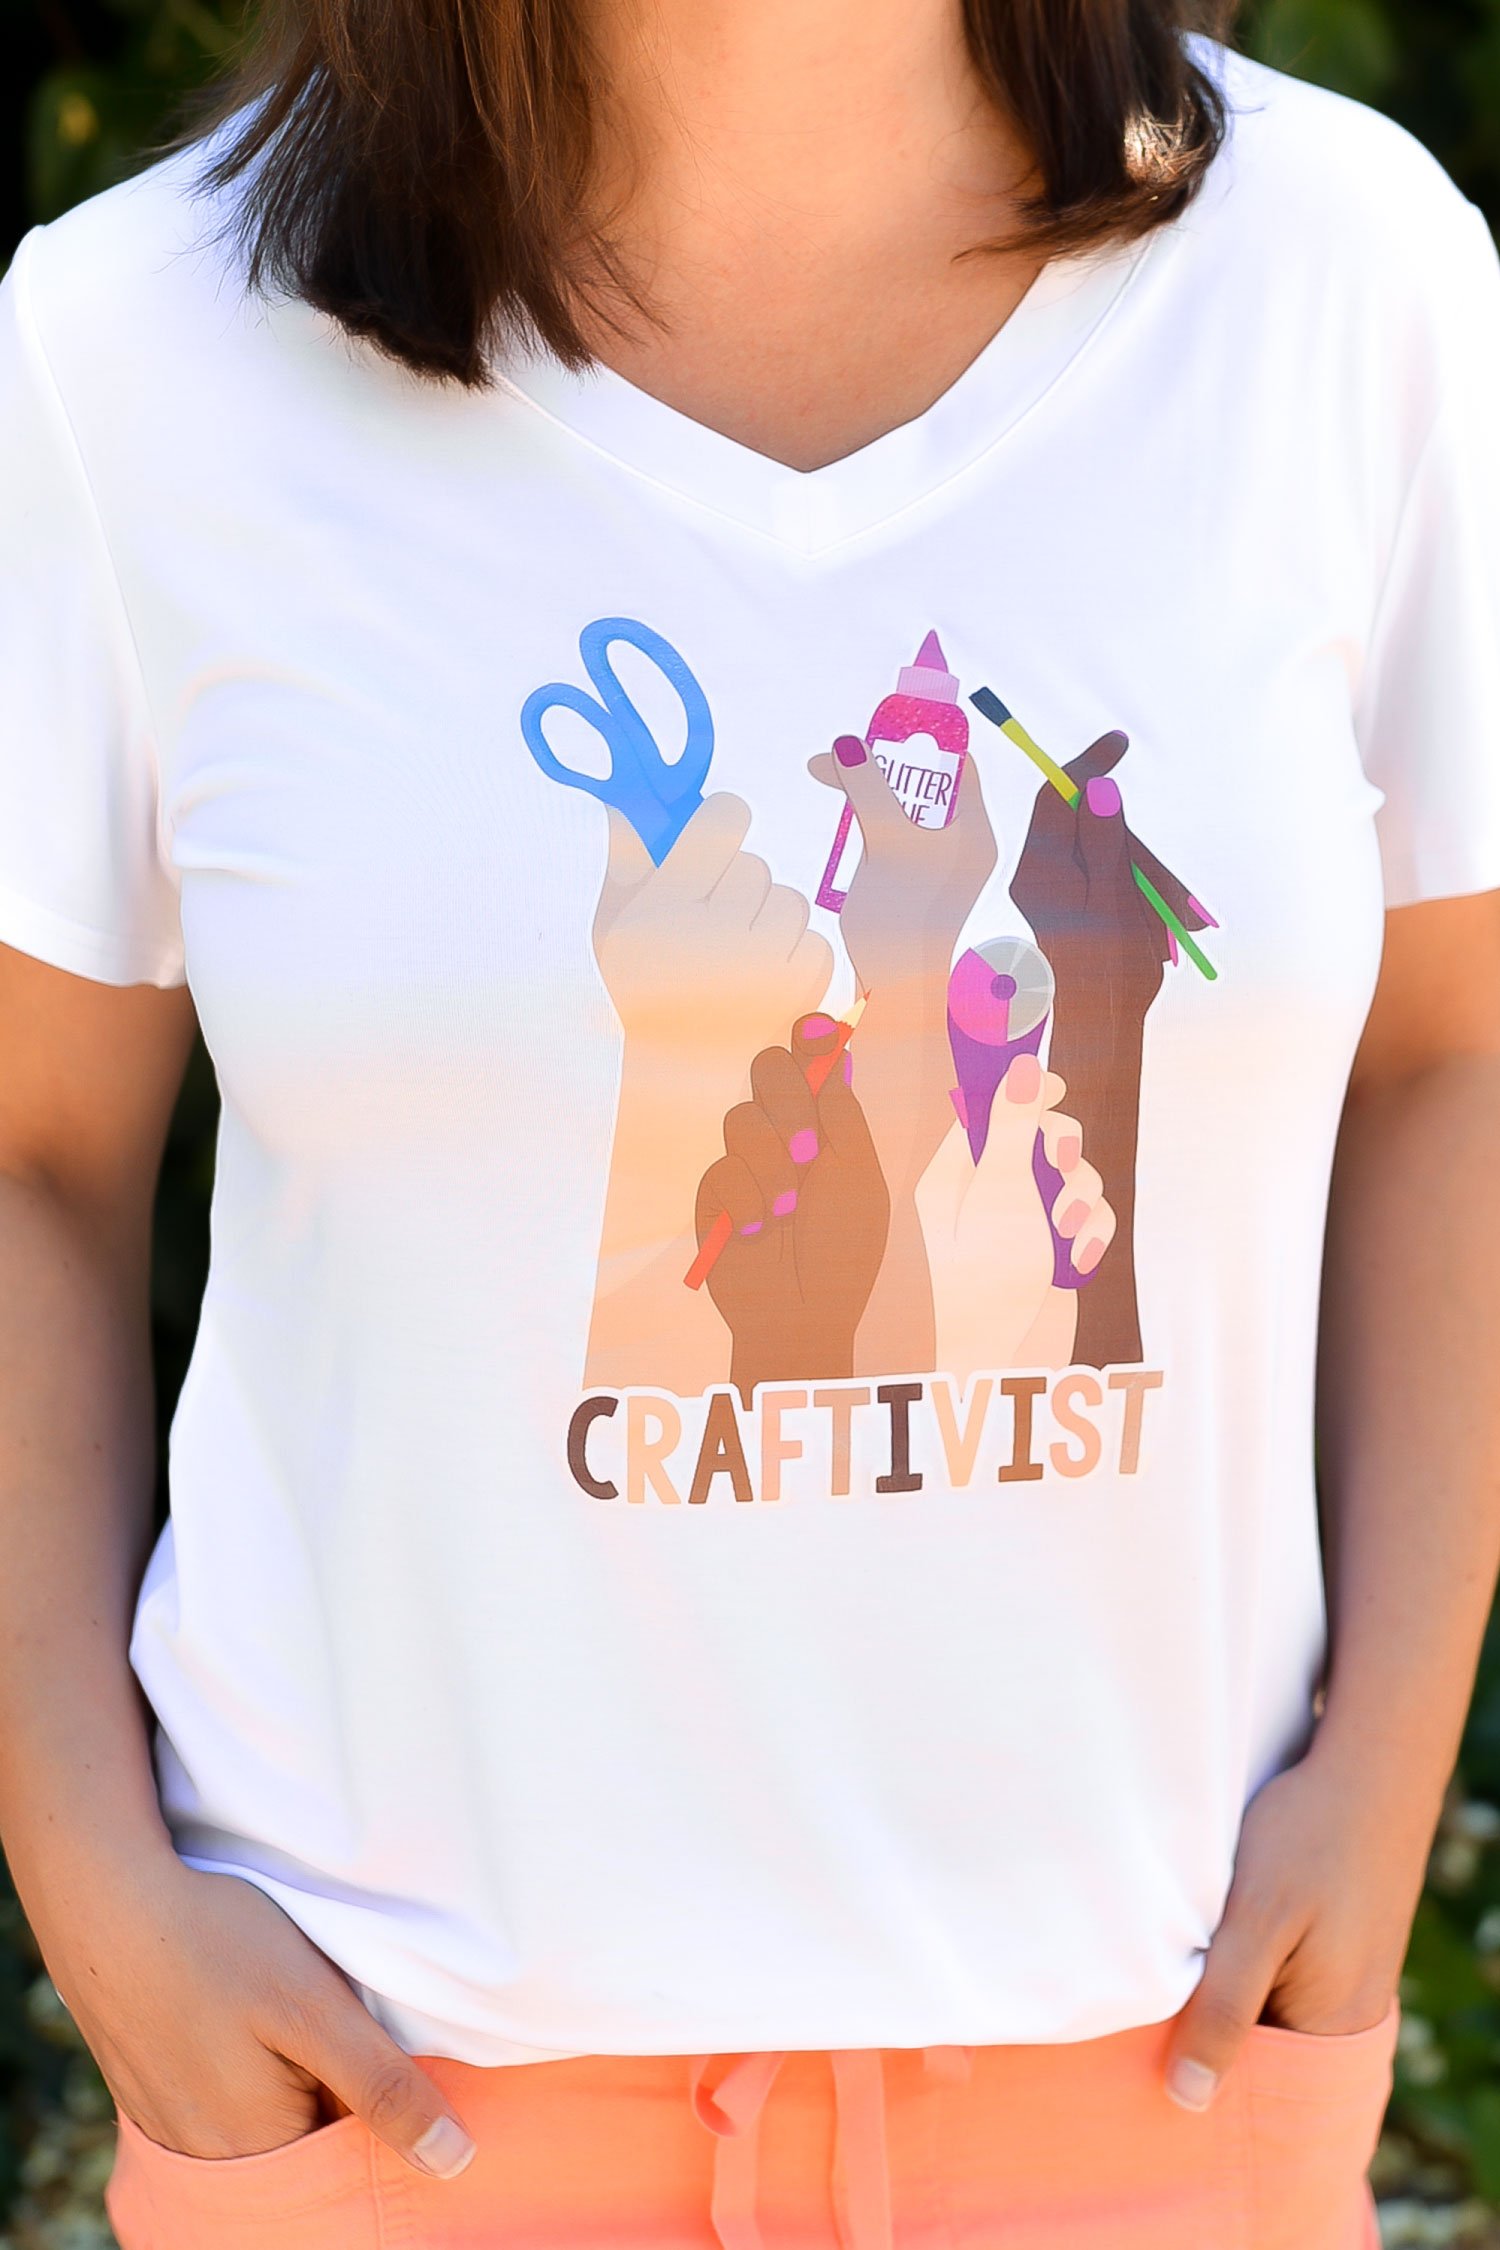
Once the backing is fully removed and the decal is securely adhered to the fabric, allow it to cool completely. Avoid stretching or folding the fabric while it’s still warm to prevent any damage to the applied decal.
 When washing the fabric with the applied decal, follow the specific care instructions provided by the manufacturer of the printable iron-on vinyl. In general, it’s advisable to wash the fabric inside out in cold water and avoid using bleach or harsh detergents. Additionally, to prolong the life of the design, it’s best to air-dry the fabric instead of using a dryer.
Printable iron-on vinyl provides endless possibilities for customizing and personalizing fabrics and other items. Whether you want to create unique t-shirt designs, customize tote bags, or add decorative elements to various crafts, printable iron-on vinyl offers a convenient and creative solution. With the right materials and proper application techniques, you can achieve professional-looking results that will withstand repeated washing and wear.
So, start exploring your creativity and bring your designs to life with printable iron-on vinyl!